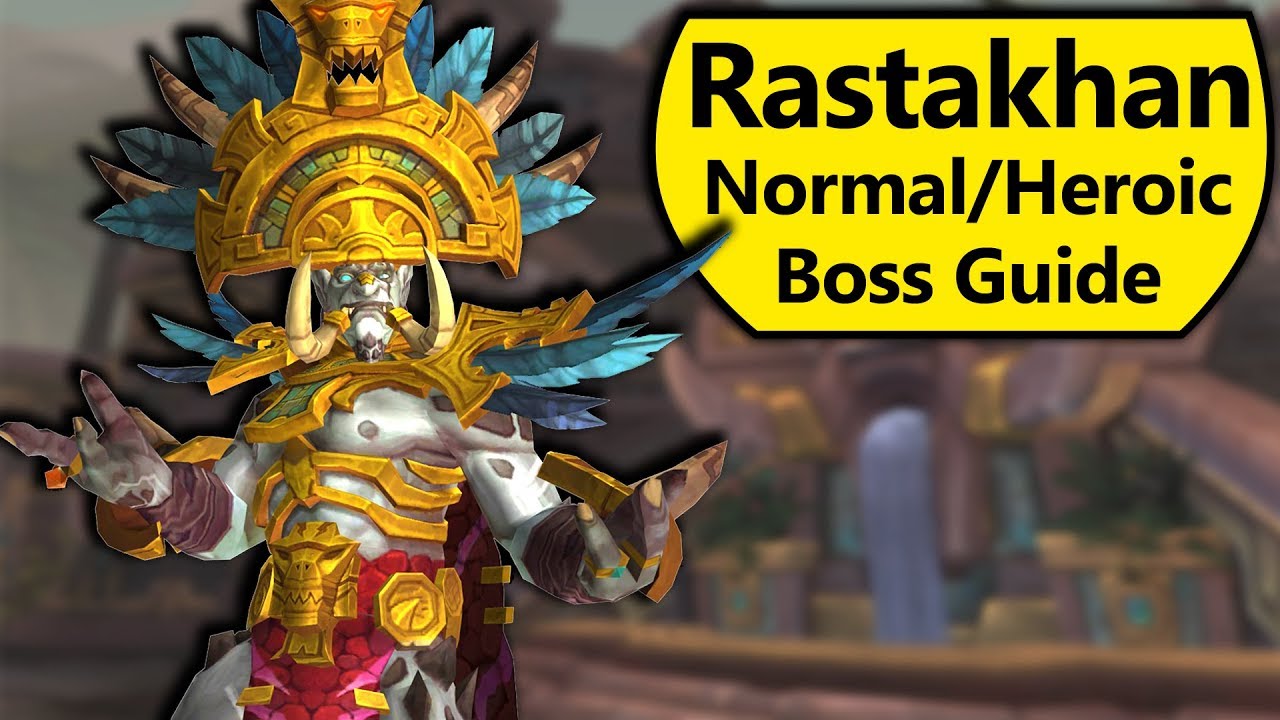
Rastakhan Normal and Rastakhan Heroic guide! Rastakhan is a raid boss in the Battle of Dazar'Alor raid of BfA. This Rastakhan boss guide will show you the Rastakhan abilities that you'll see in the Normal, Heroic and LFR versions of the Rastakhan fight. Mythic Rastakhan has additional mechanics not shown in this Normal and Heroic Rastakhan guide. Footage of Rastakhan for this boss guide is from PTR raid testing and my testing group did not progress very far, so mechanics new to the last several phases are indicated with illustrated diagrams. Also, I was for some bizarre reason mistakenly under the impression that it was 'Bwomsamdi' rather than 'Bwonsamdi'. It's been a long day.
The Rastakhan fight has four phases, but many abilities carry over or re-appear in later phases. In Phase One, you fight Rastakhan directly along with the adds he spawns with. Once you've defeated Siegebreaker Roka, Prelate Za'lan and Headhunter Gal'wana (Heroic), their mechanics are finished and do not reappear in the fight. Rastakhan shares health with his Phase 1 adds, so cleave everyone for free damage on him. When the adds die, Bwomsamdi appears and Phase 2 begins.
In Phase 2, Bwonsamdi must be tanked (away from the raid, at least 30 yards!) but will not take damage. His aura of death will stack Deathly Withering on his tank and anyone else within 30 yards, so swap the tank and tank healer out as needed to manage those stacks. The tank should use mitigation before Caress of Death. He'll also debuff players with a DoT that drops Death Rifts after expiring, which players can place around the room. During Phase 2, Rastakhan keeps up Scorching Detonation and the Toads, and learns Plague of Fire and Zombie Dust Totem. The tank runs away from the Detonation, everyone dodges Toads, ranged stay pre-spread at least 7 yards for the rest of the fight and kill totems. When Rastakhan reaches 60% health, Phase Three starts.
In Phase 3, Bwonsamdi will port into the Death Realm and take the half of the raid closest to him with him. Down there, you want to dodge black pools, fight against the Inevitable End pull and damage Bwonsamdi to half health to progress. If your Withering stacks are high, pop through a Death Rift portal to reset them- but watch the raid damage burst! Up top, the other half of the raid deals with Rastakhan and a new set of adds. They each have their own abilties that are gone from the fight once the add dies.
In Phase 4, Bwonsamdi leaves, everyone is back out of the Death Realm and it's a race to finish the fight while dealing with pre-existing mechanics and increasing amounts of Dread Reaping pools.
Browse my gaming gear, WoW Cookbook, streaming equipment, teapots and more on my Amazon Recommendations shop here:
Support me on Patreon! I make these videos full time now and your support and donations keep me going. I can't thank you guys enough for this.
Find me on Twitter at
Insta:


0 Comments